
Attach files to directory objects
Using Adaxes, you can upload the contents of any file into any binary property of a directory object. Adaxes recognizes many well-known data formats like PDF, XLSX, DOC, or ZIP and displays them accordingly in the Web interface. Essentially, this means you can attach files to user accounts, groups, and other objects.
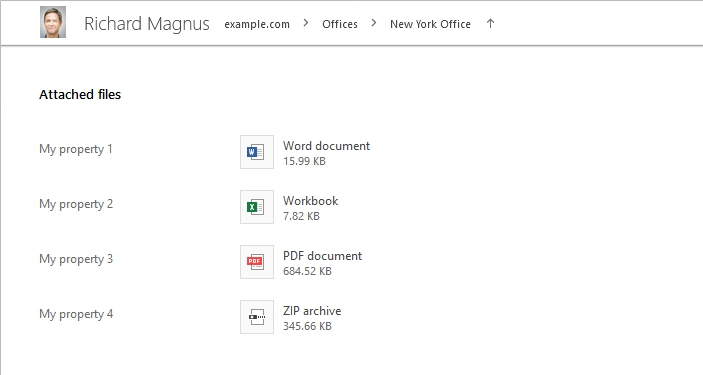
So which properties can be used to store files? You can use any available binary property. For example, user objects have several binary properties like teletexTerminalIdentifier, that are hardly ever used, and can be repurposed to store files. It is also possible to change the property display name to fit the new purpose.
Another option is to create your own binary properties by extending your AD schema. Finally, Adaxes has a set of its own virtual binary properties (e.g. CustomAttributeBinary1), that are not present in the AD / Entra ID schema, but can be used to store files just like any other binary property.
In this tutorial you will learn how to attach files to user accounts, view the attached files in the Web interface, and delegate permissions to modify or remove the attached files.
-
Add a field to Web interface forms and views
The default forms for creating and editing users don't have a field that lets you attach files, so you need to add one. As mentioned before, files can only be uploaded to a field of binary type. To be able to view and download the attached file, the same field must be added to the view used to display user accounts.
For details on how to add fields to forms and views, see Customize forms for user creation and editing.
-
Change field display name
Change the display name of the added field to make it more user-friendly.
How to change the display name of a field { #howtochangedisplayname}
-
Launch Adaxes Administration console.
How { #collapse1}
-
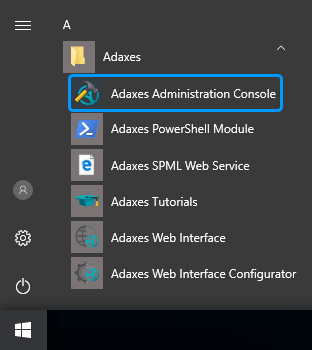
On the computer where Adaxes Administration console is installed, open Windows Start menu.
-
Click Adaxes Administration Console.
-
-
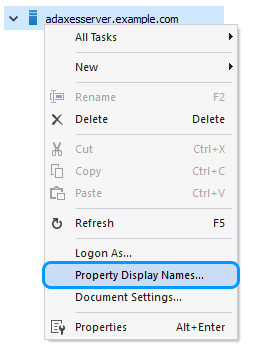
Right-click your Adaxes service and then click Property Display Names in the context menu.
-
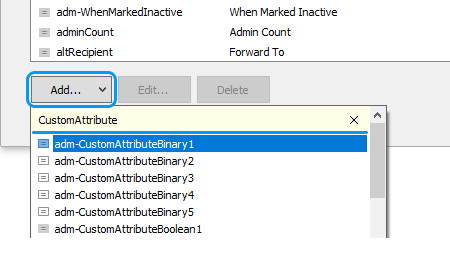
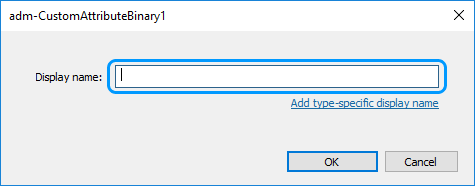
In the dialog that opens, click Add and type the property name in the drop-down list.
-
Select the property you want to specify a display name for.
-
Enter the display name in the dialog that opens.
-
To specify a custom display name for a specific object type, click Add type-specific display name.

-
Click OK.
-
-
Grant permissions
Once a binary field is added to the user creation form, anyone who has the rights to create users will be able to upload a file during user creation.
Attaching a file to an existing object or removing an attached file requires additional permissions. You need to grant the rights to modify the property where the file is stored. For example, uploading files to the CustomAttributeBinary1 property of existing users requires the permissions to modify the CustomAttributeBinary1 property of User objects. For step-by-step instructions, see Grant rights to modify specific properties of directory objects.