
Predefine selection of Exchange mailbox databases
It is possible to customize how Adaxes selects the default mailbox database when manually creating on-premises Exchange mailboxes for users. You can specify the databases that are allowed, and how to distribute new mailboxes among them. For example, you may want the mailbox database that contains the least number of mailboxes to be always selected by default.
Using Adaxes it is possible to automate provisioning of Exchange mailboxes. For details, see Automate user provisioning.
To configure options for selecting mailbox databases, you need to use property patterns. Adaxes provides a built-in User property pattern that is applied to all user accounts by default. In this tutorial, you will learn how to use this property pattern to customize the way mailbox databases are selected by default.
-
Launch Adaxes Administration console.
How { #collapse1}
-
On the computer where Adaxes Administration console is installed, open Windows Start menu.
-
Click Adaxes Administration Console.
-
-
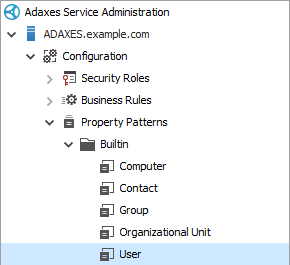
Expand Adaxes service \ Configuration \ Property Patterns \ Builtin and select User.
-
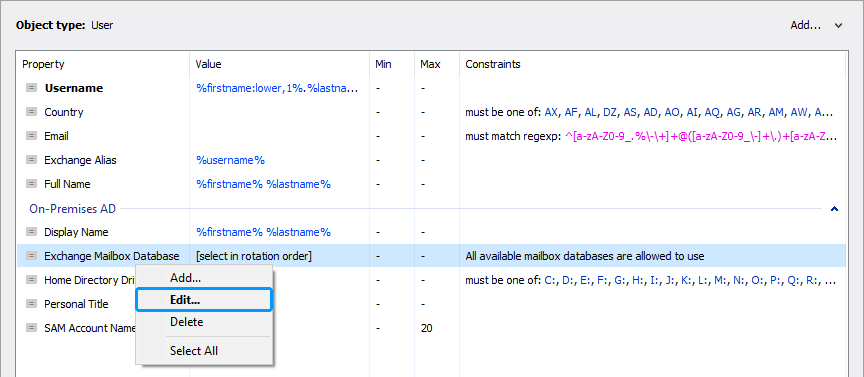
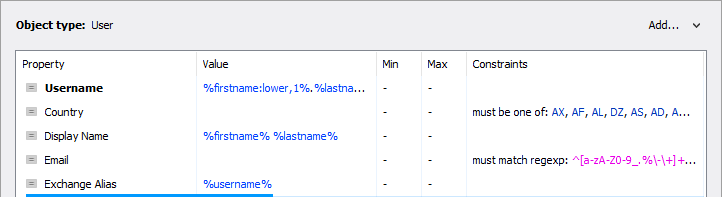
In the pane on the right, right-click the Exchange Mailbox Database property and then click Edit in the context menu.
-
Select the databases that can be used for new mailboxes, and how to determine the default database.
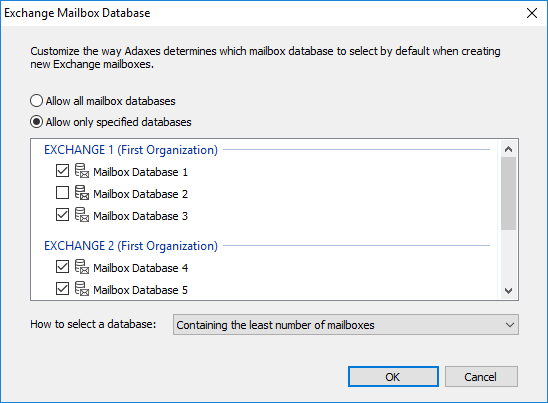
When done, click OK.
When creating an Exchange mailbox for a user, only the mailbox databases located in the user's domain are available.
-
If necessary, modify the template used to generate mailbox aliases.
-
Click Save changes.

Any changes made to built-in property patterns can be discarded. To do it, right-click a property pattern and click Restore to Initial State in the context menu.
Different patterns for different users
By default, property pattern User is applied to scope All Objects.

This means that the list of allowed mailbox databases and the default database will be the same for all users in all domains managed by Adaxes. If you want to apply different settings for different organizational units or domains, you need to create a separate property pattern for each OU or domain.
How to create a property pattern { #howto_multiple_pattern}
-
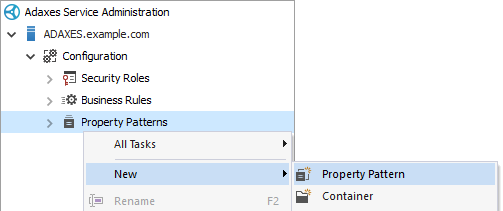
Right-click Property Patterns, point to New and click Property Pattern.
-
Enter a name for the new property pattern and click Next.
-
On the Object Type step, select User.
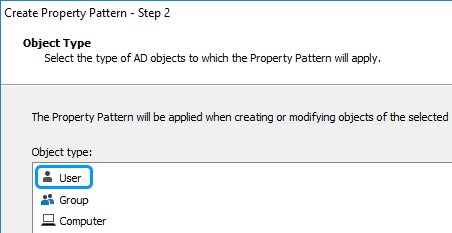
Click Next.
-
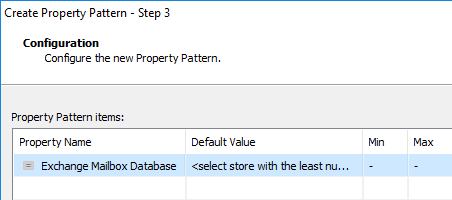
On the Configuration step, configure options for a property and click Next.
-
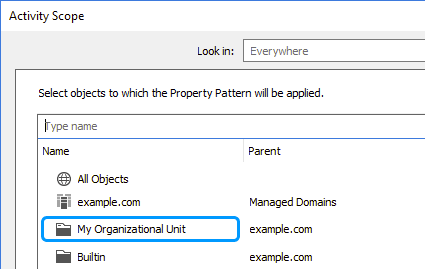
On the Activity Scope step, click Add.
Select the following items:
-
 Domain – select to apply the property pattern to all users in a domain.
 -
 OU or Container – select to apply the property pattern to users in an organizational unit or container.
 -
 Group – select to apply the property pattern to members of a group.
Assignments over group members are not applied during user creation.
-
 Business unit – select to apply the property pattern to members of a business unit. To select a business unit, open the Look in drop-down list and select the Business Units item.
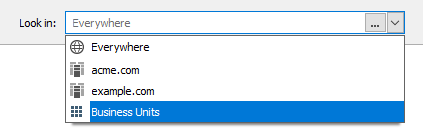
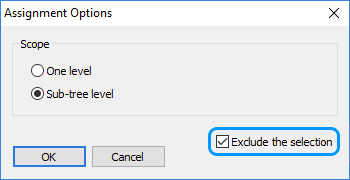
You can exclude specific organizational units, business units, groups, and domains from the activity scope of the property pattern. For example, if you assigned the property pattern over the whole domain, but do not want it to apply to a specific organizational unit, you can exclude the organizational unit from the activity scope. To exclude an object, select the Exclude the selection option in the Assignment Options dialog box.
Step by step { #exclude_scope}
-
Click the object you want to exclude.
-
In the Assignment Options dialog, select the Exclude the selection option.
-
Click OK.
-
-
When done, click Finish.